As an Amazon Associate, I earn from qualifying purchases
If you’re looking to remove sound deadening from your car, it’s important to do it properly to avoid damaging your vehicle. This post will walk you through the step-by-step process of safely and effectively removing sound deadening material from your car, so you can improve the sound quality and overall experience of driving your vehicle. Whether you’re a car enthusiast or simply looking to make some improvements to your vehicle, this guide will help you achieve the results you’re looking for.
Gather the necessary tools and equipment
When removing sound deadening from a car, it’s important to gather the necessary tools and equipment. You will need a heat gun or hairdryer, a putty knife, gloves, safety glasses, and a scraper. These tools will help you effectively remove the sound deadening material from your car without causing damage. Always make sure to use the proper safety equipment and follow the necessary precautions when working on your car.
Prepare the car by removing any trim or carpeting

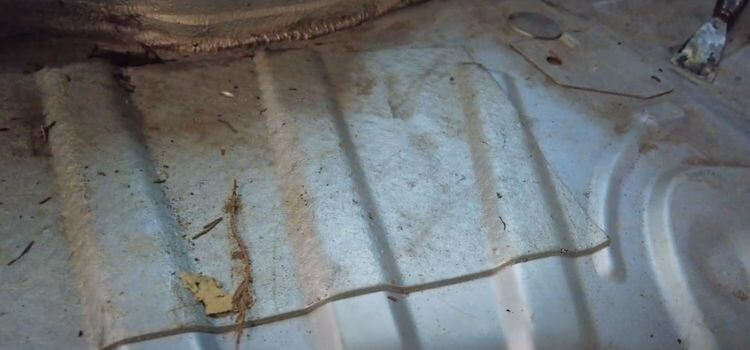
Removing sound deadening from a car can be a challenging task, but with the right tools and techniques, it can be done effectively. To start, you will need to prepare the car by removing any trim or carpeting that covers the areas where the sound deadening is located. This will give you better access to the sound deadening material and make the removal process easier. Once you have removed the trim and carpeting, you can then begin the process of removing the sound deadening. There are a few different methods that can be used to effectively remove sound deadening, such as using a heat gun to soften the material and then scraping it off, or using dry ice to freeze the material and then chipping it away. It’s important to take your time and work carefully to ensure that the sound deadening is removed completely and without causing any damage to the underlying surface of the car. With some patience and the right approach, you can effectively remove sound deadening from your car to improve its overall performance and acoustics.
Use a heat gun or dry ice to loosen the sound deadening material
Removing sound deadening material from a car can be a challenging task, but using a heat gun or dry ice can make the process easier. To use a heat gun, simply apply heat to the material to soften it and then scrape it off with a putty knife or similar tool. Be sure to wear protective gloves and eyewear when using a heat gun. Alternatively, you can use dry ice to freeze the material, making it brittle and easier to remove. Simply place the dry ice on the material until it freezes, then use a chisel or similar tool to break it off.
Scrape off the material using a putty knife or scraper
To remove sound deadening material from a car, you can use a putty knife or scraper to scrape off the material. This can help to effectively remove the material and improve the sound quality in your car. It’s important to take your time and be thorough in this process to ensure that the material is fully removed.
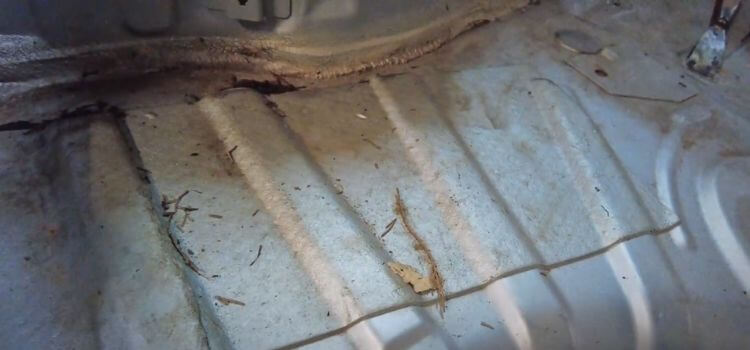
Clean up any remaining residue with a solvent or adhesive remover
To remove sound deadening from your car, it’s important to clean up any remaining residue with a solvent or adhesive remover. This will help to ensure that the area is clean and ready for any further work or reapplication of sound deadening material. Be sure to follow the instructions on the solvent or adhesive remover you choose to use, and take proper safety precautions while working with these substances. Keep in mind that removing sound deadening material can be a time-consuming and labor-intensive process, so be prepared to put in the effort to achieve the desired results.
Sand down any remaining rough areas
Sand down any remaining rough areas to ensure a smooth surface. This will help to create the perfect finish for your project. Make sure to use a fine-grit sandpaper and work in a circular motion to evenly sand down any rough spots.
Clean the area thoroughly before reinstalling trim or carpeting
Before reinstalling trim or carpeting in your car, it’s important to thoroughly clean the area to ensure a smooth and secure fit. Use a vacuum cleaner to remove any loose debris and dirt, and then wipe down the area with a clean, damp cloth to remove any remaining dust or grime. This will help to ensure that the trim or carpeting adheres properly and looks great once it’s back in place.
Conclusion
removing sound deadening from a car can be a time-consuming and messy process, but it can greatly improve the sound quality and performance of your vehicle. Make sure to use the proper tools and techniques to avoid damaging the car’s interior.
Related Guide:
5 best sound dampening for cars Reviews
As an Amazon Associate, I earn from qualifying purchases
Leave a Reply